The past winter in Osoyoos, BC with its attendant well salted roads, giant hills, and lack of dry, heated storage to carry out maintenance took its toll on Rover II as well as me. A bunch of sprocket crunching shifts when the slope overcame my reluctant leg muscles did nothing to pamper the driveline. And although I had some replacement parts, I put things off until I returned to Rainy River where I could work in the comfort of my own cluttered workshop.
(I had been considering some e-assist and in March pulled the trigger on a special Luna featured on a Bafang BBSO2B package, but more on that in my next post)
As well as rolling under my power for 7000 + km Rover II had spent a lot lot time and miles travelling back from Florida, across Ontario, and twice back and forth across most of western Canada. I can't imagine a worse spot for sucking grit, grime, and moisture into every nook and cranny of a trike, than on the back of a vehicle. Maybe it's time to invest in one of those hermetically sealed trike coffins that fits on the rear hitch.
After a thorough wash at the coin-op, I started to pull Rover II apart. I dropped off my Windwarp fairing and set all the bits and pieces carefully in one tray... it may not get put back on until next fall.The chain came off and was quickly consigned to the scarp heap...definitely shot.
After removing the seat (mine is tight and never goes out of adjustment), next I backed out the grub screws on the frame. Easy, peasy as I had forced grease into every one last spring after reading on the forums the joys of drilling our seized set screws.
Then slide the main boom out of the cruciform and rear frame. A pull, then a wiggle, and a stiff jerk yielded no results. Checked to make sure all the set screws were out. Yep! A piece of hardwood plywood against the boom behind the bottom bracket and a couple of stiff blows with a two lb hammer started things moving. Took a few more to finally get the boom out. The amount of surface corrosion in the cruciform and frame was quite extensive, so I cleaned things up and poured some heavy oil through the interior to coat everything and made sure I coated the boom with heavy grease before reinserting it. Everything now slid together smoothly.
 |
Corrosion on boom after one year: ridden 7,000km. transported 11,000 km |
 |
Rover II: Upside down and Apart |
I did a thorough examination of the weld under the cruciform and frame. Everything looks fine with no sign of bends or cracks. The bearings on the front wheels and the bottom bracket seem excellent so no further action there.
The rear sprocket was, well, trashed... crunch, crunch, once (many times) too often. Replaced it with a Shimano HG31 8 Speed Mountain Bike Cassette (11-34T) Sold by: Sun Cycle Warehouse $17.77 which I had bought last year but never installed. Wish I had as I could have used that 34T low over the stock 30T on those Osoyoos hills. The rear bearing seems fine so cleaned and lubed it and checked the spokes for tightness... a few took a half turn and rim is straight. I'll leave the knobby winter tire on for present as I want to try some gravel roads.
")
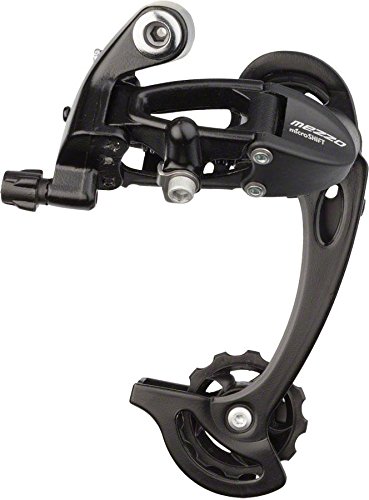 The derailleur was a mess and looks pretty worn. I decided to order a new one as they are less than $20 MicroShift Mezzo Long Cage 8/9 speed Rear Derailleur, Sold by: Gap30Cycles, $18.65 from Amazon and in meantime pulled the old one apart, cleaned and lubed it and reinstalled. It works.
I had a spare set of brake pads I ordered from Taylor at Terra Trike in the winter so decided to put them on. Some wear on the old ones but not that bad. More a case of uneven wear rather than loss of performance. See lots of suggestions in the forums claiming BB7s are far superior to the stock Alhonga brakes, but I have never had a problem with Alhongas... easy to adjust and perform adequately. Changing pads and readjusting is a bit of a fiddly experience, as are working on derailleurs. A few points: a: work on a well lighted comfortable surface, because you will drop parts, your eyesight just ain't what it used to be, and your physical stamina is limited. b: watch the YouTube videos and bookmark them so you can find them again, because you will forget proper procedures and dyslexia is far too common to depend on written directions. Found a couple places on Rover II that used Torx screws rather than Allen heads. so be prepared.
Checked out my lights and chucked my Bell white strobe that has been taking on moisture and no longer takes a decent charge. Put on a new front white strobe c/w a pukey little horn (but legal now)
Put together the three SRAM 8 speed chains I had purchased from an LBS in Osoyoos last winter and with trusty chain tool took out the excess links. Put the seat back on and took Rover II out for a spin.
JOY!!
Details on the BBSO2 install next post
Note: As an aside I buy as many things from local suppliers as I can, but I don't have an LBS and Amazon, is generally priced competitively with delivery to my door in usually two days or less. Good service deserves a nod.
No comments:
Post a Comment